


TX Labs: A Space for Accelerated AI Innovation
3 min read
We previously showcased Txgh, a tool for automatically bridging GitHub with Transifex. Txgh is an Open Source Sinatra server that uses webhooks to trigger updates between GitHub and Transifex. It allows both developers and translators to share localization updates in an automated and seamless way. Changes to either a GitHub repository or a Transifex project are pushed to the Txgh server, which forwards them to Transifex or GitHub respectively.
Txgh has seen a lot of updates since its earlier release. Txgh can now run as a Heroku dyno for quick and easy deployment. The new release also supports branches, rather than limiting changes to master. Transifex will manage future updates to the project, but the project will remain open sourced. In this post, we’ll walk you through setting up the latest version of Txgh.
Txgh requires an existing Heroku account. If you don’t already have one, you can sign up for a free account here. Txgh requires Ruby and Bundler, which you can install using this guide. Note that the Txgh project uses Ruby version 2.0.0, which we recommend installing using a version manager.
To download Txgh, simply clone the latest version from GitHub:
$ git clone https://github.com/matthewjackowski/txgh.git
Cloning into 'txgh'...
remote: Counting objects: 162, done.
remote: Compressing objects: 100% (3/3), done.
remote: Total 162 (delta 0), reused 0 (delta 0), pack-reused 159
Receiving objects: 100% (162/162), 34.75 KiB | 0 bytes/s, done.
Resolving deltas: 100% (68/68), done.
Checking connectivity... done.
Txgh needs access to a GitHub account, a Transifex account, and information about the Transifex project being managed. Earlier versions of Txgh used a YAML file to store user credentials. With the latest version of Txgh, this information is stored as environment variables in Heroku. We’ll add these environment variables after deploying the server to Heroku.
In the meantime, we can provide Txgh with our Transifex project’s configuration. Copy the config file stored in your project’s .tx directory to Txgh’s config directory and rename it to tx.config. You should see three files in the directory: key_manager.rb, key_manager_ruby.rb, and tx.config. For more information on setting up your project configuration, click here.
Heroku provides a command-line tool for interacting with applications. When you create a new application, Heroku creates a remote Git repository (with a branch named heroku), which you can then push your code to. Change your current directory to the Txgh project’s root directory and enter the following command:
$ heroku create
Creating nameless-eyrie-4025... done, stack is cedar-14
https://nameless-eyrie-4025.herokuapp.com/ | https://git.heroku.com/nameless-eyrie-4025.git
Git remote heroku added
By default, Heroku provides a randomly generated name, but you can supply one as a parameter. Once the new application has been created, you can deploy your app by using git:
$ git push heroku master
Counting objects: 156, done.
Delta compression using up to 2 threads.
Compressing objects: 100% (71/71), done.
Writing objects: 100% (156/156), 33.84 KiB | 0 bytes/s, done.
Total 156 (delta 65), reused 155 (delta 65)
remote: Compressing source files... done.
remote: Building source:
remote:
remote: -----> Ruby app detected
remote: -----> Compiling Ruby/Rack
remote: -----> Using Ruby version: ruby-2.0.0
remote: -----> Installing dependencies using bundler 1.9.7
...
remote: -----> Compressing... done, 18.3MB
remote: -----> Launching... done, v4
remote:        https://nameless-eyrie-4025.herokuapp.com/ deployed to Heroku
remote:
remote: Verifying deploy.... done.
To https://git.heroku.com/nameless-eyrie-4025.git
 * [new branch]      master -> master
You can verify the success of the deployment by opening the Heroku dashboard in your web browser and navigating to the newly created dyno:
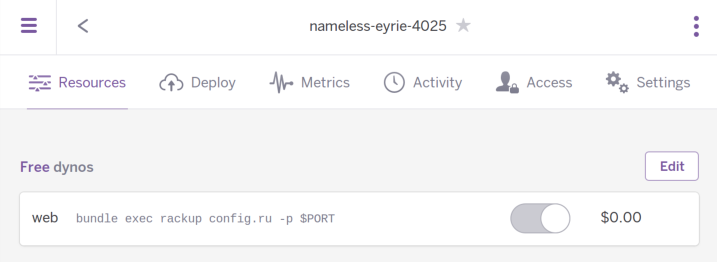
Before you can start pushing updates between GitHub and Transifex, you’ll need to provide the Heroku app with information on how to access each service. Txgh uses a set of environment variables to manage connections between each service. The name and description of these variables is shown in the table below:
[table “” not found /]There are two ways to apply these to your Heroku app:
Add Environment Variables Through the Heroku Dashboard
Open the Heroku dashboard in your web browser. Click on the Settings tab and scroll down to the Config Variables section. Click Reveal Config Vars, then click Edit. You’ll have access to the application’s existing variables, but more importantly you can add new variables as shown in the screenshot below. Add the variables listed above and click Save.
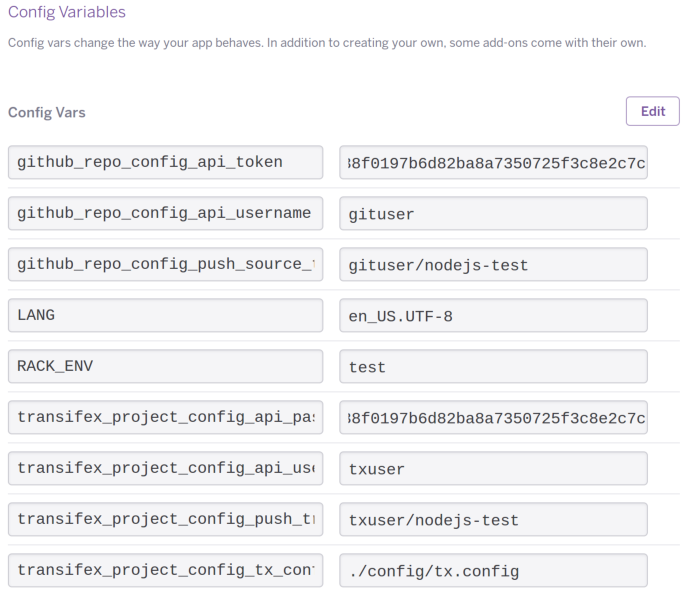
Note that the RACK_ENV variable defaults to production, but in order for it to work with Txgh we need to set it to test.
Add Environment Variables Using txgh_config.rb
The txgh_config.rb file stores our environment variables inside of the Txgh folder. To create the file, copy and paste the following into a new text file. Replace the placeholder values with your actual values and save the file in the config directory as txgh_config.rb.
# 'test' only ENV['RACK_ENV']
config_env :test do
    set 'transifex_project_config_tx_config', './config/tx.config'
    set 'transifex_project_config_api_username',
    set 'transifex_project_config_api_password',
    set 'transifex_project_config_push_translations_to',
    set 'transifex_project_config_push_translations_to_branch', 'heads/master'
    set 'github_repo_config_api_username',
    set 'github_repo_config_api_token',
    set 'github_repo_config_push_source_to',
end
To apply the changes to your Heroku dyno, use the rake command:
$ rake config_env:heroku
Running echo $RACK_ENV on nameless-eyrie-4025... up, run.2376
Configure Heroku according to config_env[test]

=== nameless-eyrie-4025 Config Vars
LANG:                                          en_US.UTF-8
RACK_ENV:                                      test
github_repo_config_api_token:                  489394e58d99095d9c6aafb49f0e2b1e
github_repo_config_api_username:               ghuser
github_repo_config_push_source_to:             nodejs-test
transifex_project_config_api_password:         12345678
transifex_project_config_api_username:         txuser
transifex_project_config_push_translations_to: ghuser/nodejs-test
transifex_project_config_tx_config:            ./config/tx.config
This command updates the configuration of your Heroku app with the values specified in txgh_config.rb. If you have any issues running the rake command, run bundle install in the Txgh project’s root directory. This compiles and installs the Ruby gems required by Txgh. Once the install completes, run the rake command again.
Since this file contains sensitive information, you should avoid committing it to your Heroku repository or to your GitHub repository.
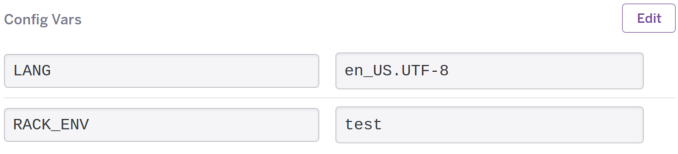
Once the rake command has completed successfully, open the Heroku dashboard, navigate to the application’s settings and click Reveal Config Vars.
Final Configuration Steps
The last step is to change the value of the RACK_ENV variable. By default, Heroku sets the value of RACK_ENV to production. However, we recommend testing Txgh by setting this value to test. If you haven’t already, open your application’s environment variables in a web browser and change the value of RACK_ENV from production to test. When you’re ready to deploy, you can change this value back to production.
Meanwhile, check the values of your other variables. If any values seem incorrect, you can edit them in your browser or edit and re-apply the txgh_config.rb file using rake. Once everything looks good, you can add your webhooks to Transifex and GitHub.
Txgh synchronizes your Transifex and GitHub projects using webhooks, allowing Txgh to respond immediately to changes in either service. The webhook URLs follow the format https://.herokuapp.com/hooks/, where is the name of your deployed Heroku app and is either “transifex” or “github.” For instance, we’ll use the following URL with Transifex:
https://nameless-eyrie-4025.herokuapp.com/hooks/transifex
and the following URL with GitHub:
https://nameless-eyrie-4025.herokuapp.com/hooks/github
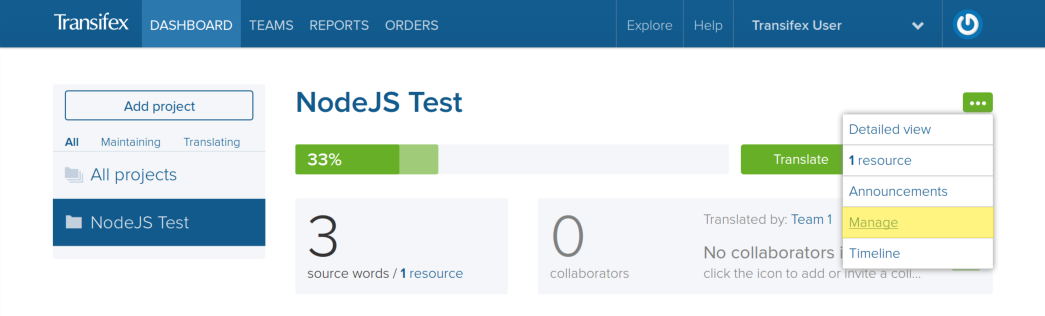
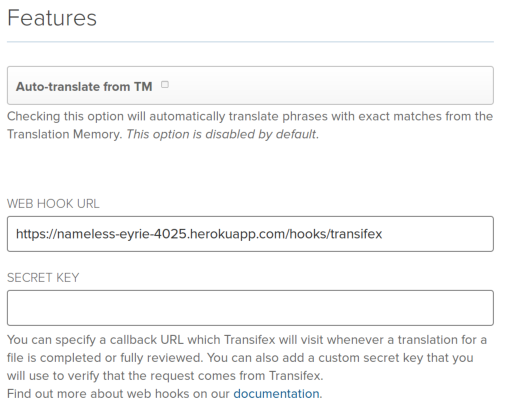
Connecting Your Transifex Project
Open your project in Transifex. Under More Project Options, click Manage.
In the Features section at the bottom of the screen is a text box titled Web Hook URL. Enter in the URL you created from your Heroku app, then click Save Project. Secret keys are currently unsupported, so leave the field blank for now.
Connecting Your GitHub Repository
Connecting a GitHub repository is similar. Open your repository in a web browser and click Settings.
Under Webhooks & services, click to add a webhook. You may be asked to confirm your password. Enter the Heroku app URL for the Payload URL and change the Content type to application/x-www-form-urlencoded. Just like with Transifex, keep the Secret token field blank.

Click Add webhook to create your new webhook. GitHub will ping the URL to test its validity. You can check whether the ping was successful by reloading the page.
Next, we’ll test out the integration by moving translations between GitHub and Transifex.
To test the integration, we’ll push a new commit to GitHub, then we’ll use the new commit to update translations in Transifex.
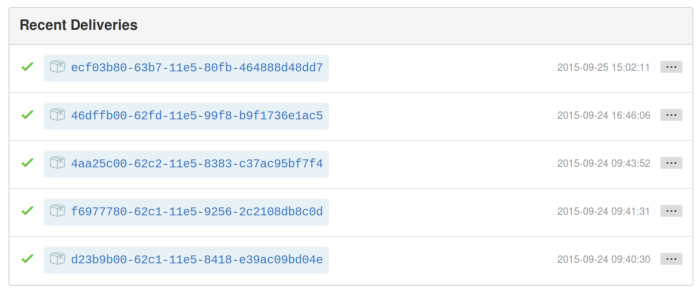
First, add a new string to the language source file in your Transifex project. Save your changes, then push the code to your GitHub repository. The push will automatically trigger the webhook. You can verify that webhook was successful by opening GitHub in a browser, navigating to the Webhooks & services, clicking on the webhook URL, and reviewing Recent Deliveries.
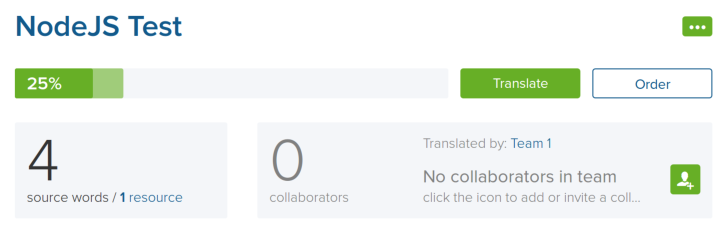
If successful, you should see the new source strings in your Transifex project:
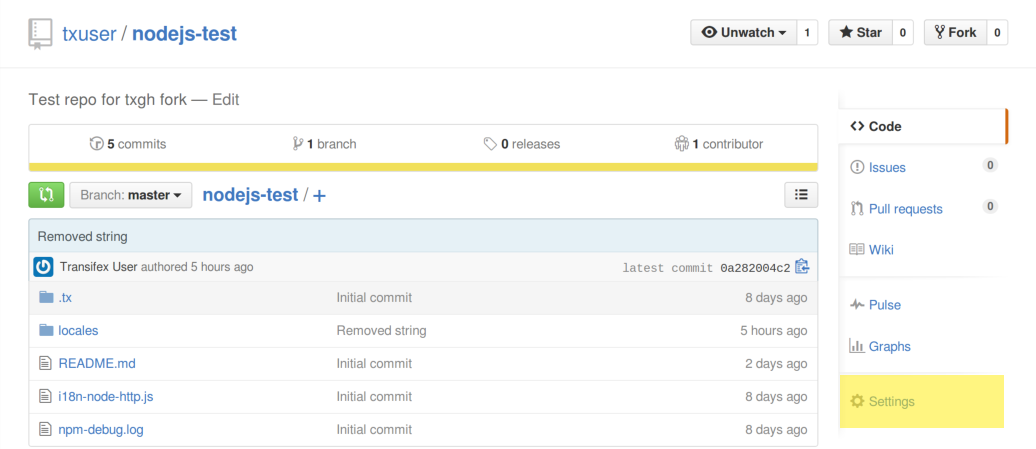
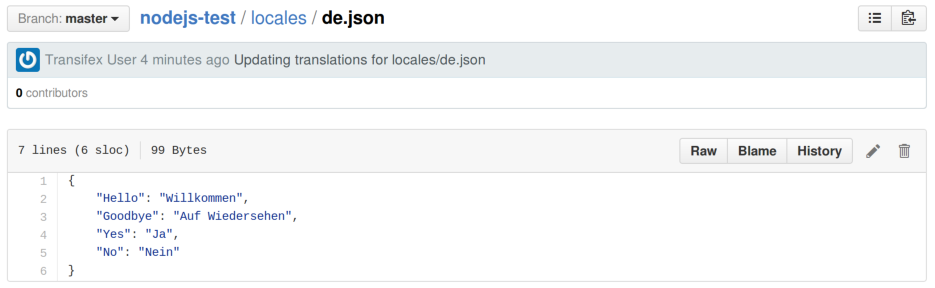
Update the translations in Transifex. Back in your GitHub repository, review the latest commits. You should see a commit from Transifex with the latest updates to the target language:
This project represents an early look into automated integration with GitHub. Going forward, we plan on making it easier to setup automated integration with code repositories and other third-party services. If you have any questions, feel free to contact a Transifex team member for a personalized demo or leave a comment below.